This article assumes that you have already configured a mailbox using our email control panel.If not, please see https://cp.gbnames.uk/kb/
To carry out the instructions in this article you will need the Settings for your mailbox.
These will look something like
Mail Settings Non-SSL:
POP: pop.mydomainname.co.uk
IMAP: imap.mydomainname.co.uk
SMTP: smtp.mydomainname.co.uk
Mail Settings SSL:
POP: us2.pop.mailhostbox.com
IMAP: us2.imap.mailhostbox.com
SMTP: smtp.ireg.com
You’ll also need your username, which is the new email address you created, and the password generated by the system.
Step 1
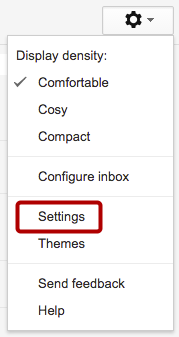
Log into your GMail account, and click on the settings button at the top right (The little Cog icon), and from the drop down menu, click Settings.
Step 2

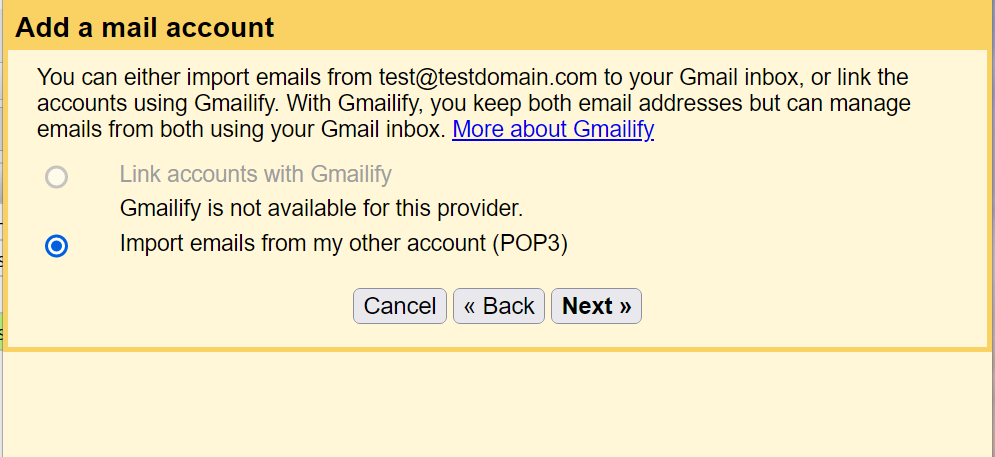
From the menu, click Accounts and Import, and from the settings that appear, click on Add a POP3 mail account that you own.
Step 3
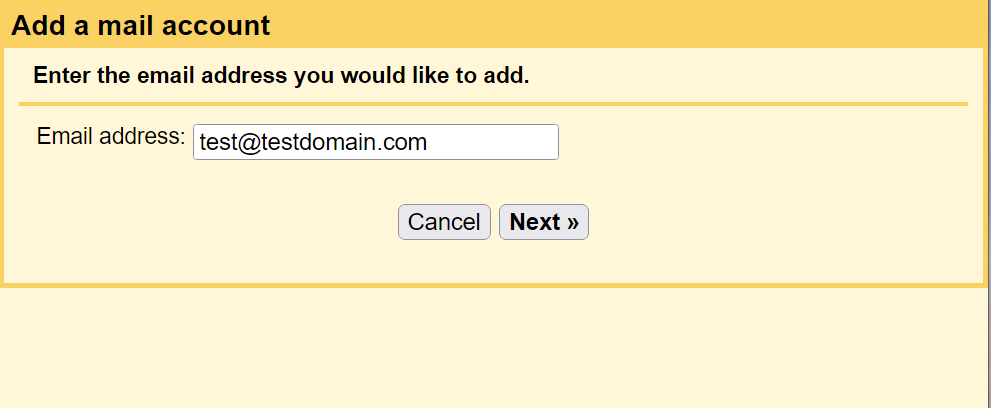
Enter the full email address of the mailbox for which you wish to collect mail.
On the next screen, just click Next
Step 4
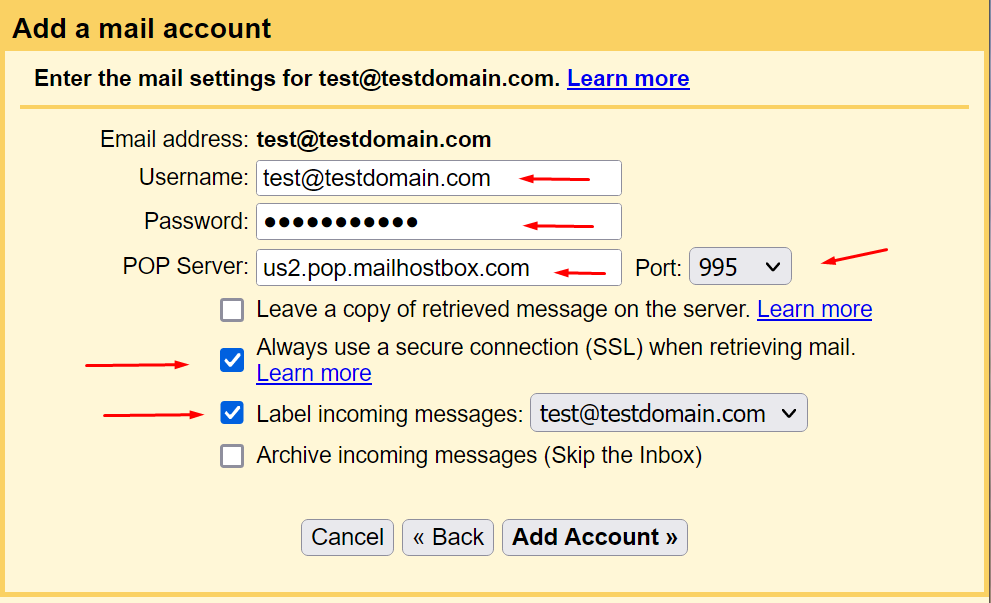
Enter the server connection details as follows:
Username: Enter the full email address of the mailbox from which you wish to collect mail and will differ from the example above.
Password: Enter the mailbox password, as previously configured via the email control panel.
POP Server: This must be the POP Server name that hosts your Panel account, and may differ from the example above. In most cases US2.POP.MAILHOSTBOX.COM will work, or use POP.YOURDOMAIN.CO.UK (where MYDOMAIN.CO.UK is replaced with your own domain name)
Port: Set this to Port 995
Leave a copy of retrieved message on the server – If you connect directly to your mailbox using other email clients, then you may want to tick this box. If you only use your GMail account to connect directly to your mailbox, and you configure your other devices (phones etc) to connect to your GMail account, then you should leave this unticked.
Always use a secure connection (SSL) when retrieving mail – This must be ticked as the vast majority f our servers now require SSL encryption to protect your mail while it is in transit.
Label incoming messages: This is up to you – you can apply any label you wish, or none.
Archive incoming messages: Leave unticked.
Step 5
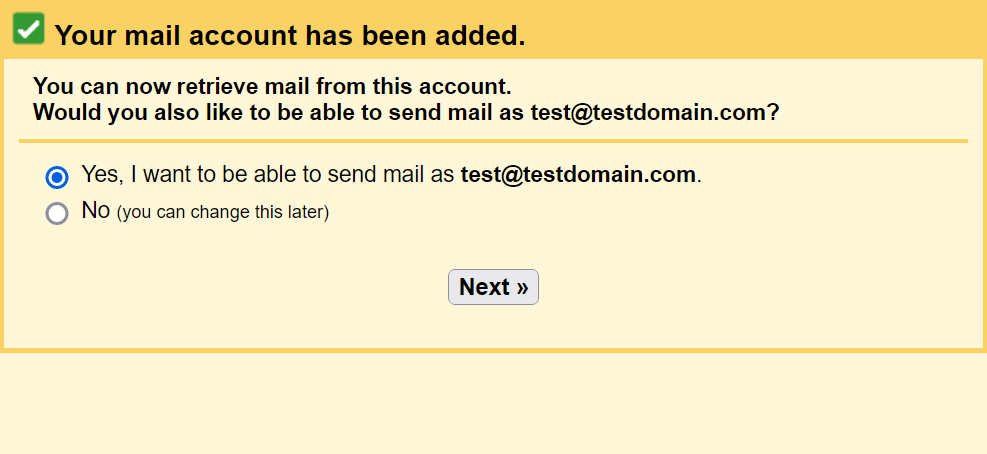
You can now also add the ability to send email from your GMail account, but using your mailbox address as your identity. Do proceed, click Next Step.
Step 6

We will be setting up your mailbox as an alias for your GMail address. For more information on how this will work, click here.
Name: Enter your display name here – this is just how you wish your name to be shown to the recipients of your messages.
Treat as an alias: Tick this box (it is ticked by default).
Click Next Step
Step 7
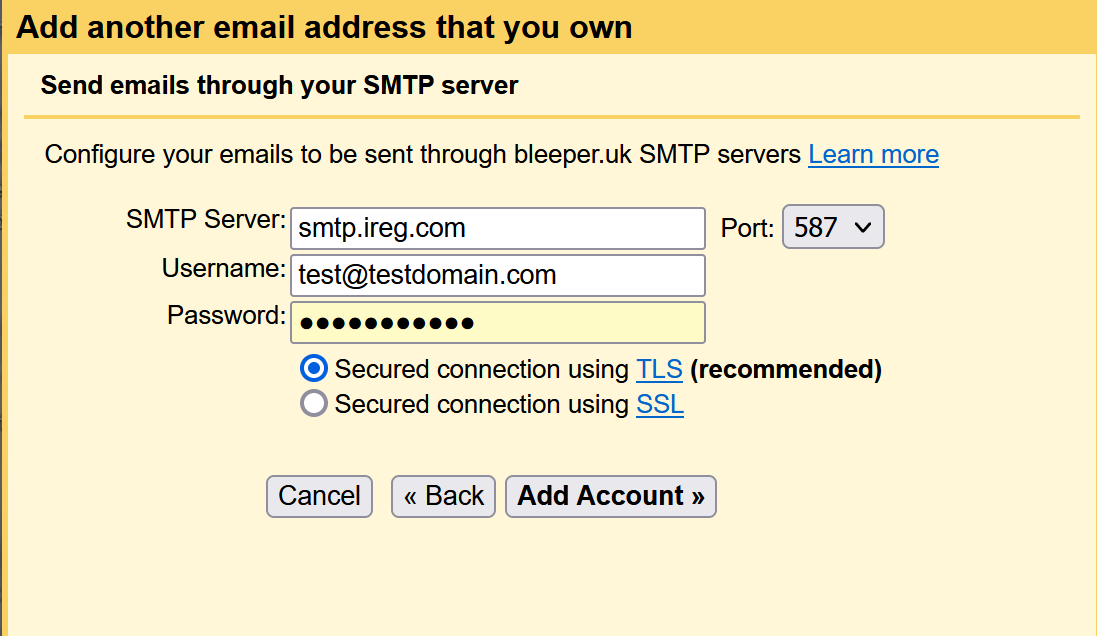
Now we muct configure the outgoing SMTP server settings.
SMTP Server: This must be the Server name that hosts your email account, and may differ from the example above. In most cases SMTP.IREG.COM will work but you can also use US2.SMTP.MAILHOSTBOX.COM
Port: 587
Username: Enter the full email address of the mailbox from which you wish to collect mail and will differ from the example above.
Password: Enter the mailbox password, as previously configured via the email control panel.
Secured connection using TLS: Choose this option.
Finally, click Add Account.
Step 8
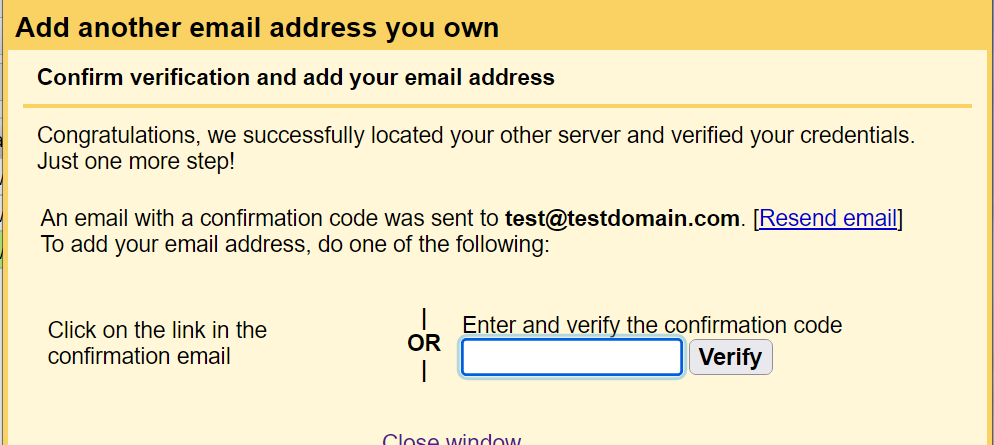
Log into your mailbox using alternative means (webmail is a good alternative) and obtain the verification code that Google have sent to you. You can find out how to log into webmail here.
Enter the verification code in the box provided, and click Verify – that’s it!
Step 9 – Optional
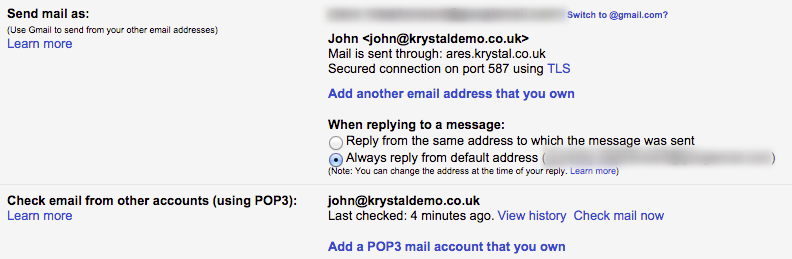
You should now see something like this in your Accounts and Import screen which shows the email account is now being linked to your gmail.
When you create an email in Gmail you will see a drop down to choose which “From” address you want to send from. You can also use the setting shown above to always use your preferred email address.